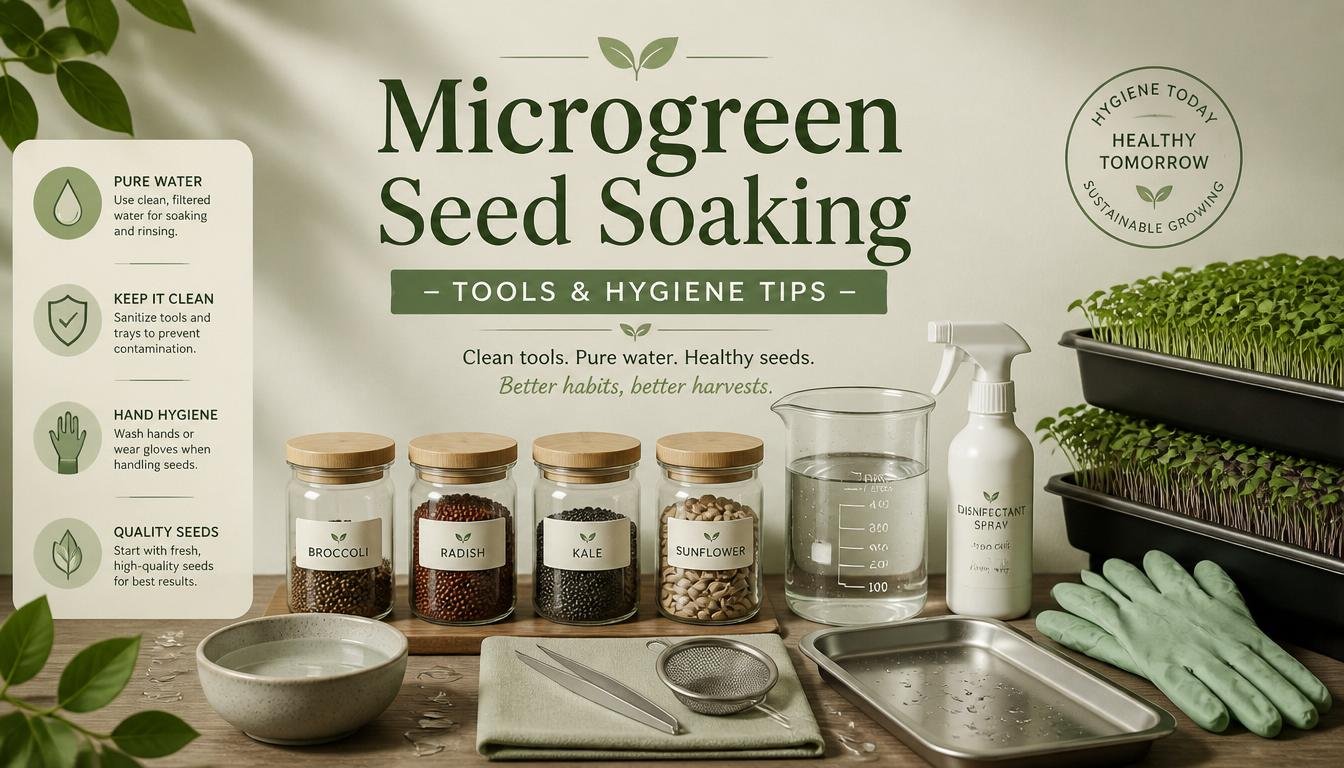
The first time I decided to soak sunflower seeds for a microgreen crop, I completely forgot about them. I left them sitting in a warm jar in my kitchen cabinet for three whole days. When I finally remembered and unscrewed the lid, the smell that hit my face was so foul it could have knocked out a fully grown grizzly bear. My kitchen smelled like a prehistoric swamp monster had crawled out of the plumbing.
Soaking your seeds is the absolute best way to speed up your harvest, but if your tools are dirty or your timing is off, you are just brewing a dangerous soup of bacteria. Ever since that smelly disaster, I have treated seed hygiene like a high-tech science experiment. If you want a massive harvest without risking mold or food-borne illness, you need to master the art of the soak. Here is my personal guide to the essential tools and hygiene tips that changed my growing game forever.
Why Pre-Soaking is a Game Changer:
You might wonder why we even bother putting seeds in water before throwing them onto the soil. After all, seeds in nature do fine without a spa day. The secret lies in the seed coat, which is the hard outer shell protecting the dormant baby plant inside.
When you soak a seed, it absorbs water rapidly, a process scientists call imbibition. This water absorption acts like a loud morning alarm clock for the plant. It signals the seed to break down its internal food stores, activate its enzymes, and start growing immediately.
By pre-soaking your seeds, you can double your overall germination rate (the percentage of seeds that successfully sprout). It also shaves days off your total grow cycle, meaning you get to eat your fresh greens much faster. However, this helpful trick only applies to specific varieties.
The Soakers Versus the Non-Soakers:
A major rookie mistake is trying to soak every single seed variety in existence. If you try to soak tiny seeds like broccoli, kale, or mustard, you will end up with a clumpy, sticky mess that is impossible to spread evenly on your soil.
Worse yet, some seeds are mucilaginous, which means they secrete a thick, jelly-like goo the second they touch water. Seeds like chia, basil, flax, and arugula must never be soaked in a jar. They get all their moisture directly from the damp soil bed.
Pre-soaking is strictly reserved for large, chunky seeds that have dense outer shells. These rugged seeds need extra help cracking open. Here is a quick breakdown of the varieties that always get a ride in my soaking jars:
- Sunflower seeds
- Pea shoots
- Beet seeds
- Nasturtium seeds
- Swiss chard
The Ultimate Seed Soaking Toolkit:
To keep your crops clean and healthy, you cannot just grab any random bowl from your kitchen sink. Scratched plastic bowls and old wooden spoons are a paradise for microscopic pathogens like Salmonella and E. coli. If bacteria hitch a ride on your tools, they will multiply rapidly in the warm, humid environment of your indoor grow room.
I have strictly switched my entire inventory over to non-porous materials that are incredibly easy to sterilize. Here is the exact equipment I use for every single batch:
| Tool Item | Best Material Choice | Why It Matters for Hygiene |
| Soaking Container | Wide-mouth glass Mason jars | Glass does not scratch easily, leaving no hidden pockets for bacteria to hide and multiply. |
| Straining Lid | Stainless steel mesh wire lids | Allows water to drain out completely without letting small seeds escape into the sink. |
| Stirring Utensil | Food-grade silicone or metal spoons | Easily sanitized with boiling water and will not absorb odors or microscopic fungal spores. |
| Rinsing Station | Large stainless steel colander | Provides plenty of space to spread out large seed batches for a thorough pre-planting rinse. |
Investing in high-quality glass and stainless steel tools is the cheapest insurance policy you can buy for your microgreen hobby. It protects your health and ensures your hard work does not end up rotting in the trash.
Hygiene First: The Pre-Soak Sanitizing Routine:
Before my seeds ever touch a drop of soaking water, I execute a strict sanitation protocol. Wild seeds are harvested from outdoor dirt fields, meaning they often arrive at your house covered in invisible dust, debris, and wild mold spores. If you skip the cleaning phase, you are setting yourself up for a massive mold outbreak later on.
First, I wash my hands thoroughly with warm water and soap for at least twenty seconds. Then, I take my glass mason jars and running utensils and scald them with boiling water to kill any lingering household germs.
Once my gear is clean, I prepare a mild sanitizing solution directly in the soaking jar. I fill the jar with clean, filtered water and add a small splash of three percent food-grade hydrogen peroxide. I use roughly one tablespoon of peroxide for every cup of water.
I dump my dry seeds directly into this sanitizing bath and swirl them around vigorously for five minutes. You might see tiny bubbles forming on the seed shells, which is completely normal. The peroxide is actively destroying the cell walls of any hitchhiking fungi or bacteria without damaging the seed inside. After five minutes, I dump the liquid out through the mesh lid and rinse the seeds twice with fresh, cool water.
Mastering the Soak: Water Temps and Timelines:
Now that your seeds and tools are completely sterile, it is time for the official soak. I always use filtered water or clean spring water. Avoid using hot water from the tap, as hot water can accidentally cook the delicate plant embryos inside the shell, killing them before they even have a chance to sprout. Aim for cool to room temperature water, around twenty degrees Celsius.
Fill your jar so that the water level sits at least two to three inches above the top of the seeds. Seeds expand dramatically as they drink, and if you do not add enough water, the top layer of seeds will dry out and miss their wake-up call.
Timing is absolutely critical during this phase. If you soak your seeds for too short a time, the shell stays hard. If you soak them for too long, you will literally drown the seeds, cutting off their oxygen supply and causing them to rot. Here is my personal cheat sheet for perfect soaking durations:
- Pea Shoots: Soak for 8 to 12 hours (overnight is perfect).
- Sunflower Seeds: Soak for 4 to 8 hours (do not exceed 8 hours, or the hulls will split too early).
- Nasturtium Seeds: Soak for 12 to 24 hours (these shells are exceptionally thick and woody).
The Crucial Final Rinse and Drain:
What you do immediately after the soak is just as important as the soak itself. Once the clock runs out, tilt your mason jar upside down over the sink and let all the murky soaking water drain away completely.
Do not just walk away after draining the main pool of water. The seeds are now wet, warm, and vulnerable. You must perform a final, thorough rinse.
With the mesh lid still attached, fill the jar back up with cold, fresh tap water, swirl the seeds around to wash away any leftover starches or sugars released by the seeds, and drain it again. I repeat this rinsing process until the water coming out of the jar is completely crystal clear and has absolutely zero odor.
After the final rinse, leave the jar propped up at an angle inside a bowl or a dish rack for about fifteen minutes. This allows every single drop of excess gravity-bound water to escape. If you plant seeds that are dripping wet, they will trap too much moisture in the soil, which triggers the dreaded damping off disease, a fungal condition that kills baby sprouts overnight.
Conclusion:
Mastering microgreen seed soaking is the ultimate way to unlock explosive growth and secure a beautifully uniform canopy of greens. By moving away from scratched plastic bowls, embracing non-porous glass and steel tools, and committing to a quick five-minute hydrogen peroxide sanitizing dip, you can completely eliminate the risk of crop-destroying molds and dangerous pathogens. Pay close attention to your soaking clocks, always use cool water, and never skip the final clean rinse before spreading your seeds onto the soil. With these simple, professional hygiene habits in place, your indoor grow room will remain a safe, high-yielding paradise.
FAQs:
1. Can I reuse the water left over from soaking my microgreen seeds?
No, you should always throw away the soaking water because it contains dirty residue, starches, and organic waste released by the seed hulls.
2. What should I do if my sunflower seeds float during the soak?
You should gently stir the water to release trapped air bubbles, but if a few seeds continue to float after an hour, you should scoop them out and discard them because they are likely empty shells.
3. Can I use regular laundry bleach to sanitize my seed-soaking jars?
Yes, you can use a highly diluted bleach solution to clean your jars, but you must rinse them multiple times with hot water to ensure no toxic chemical residue remains.
4. Why do my pea seeds look wrinkled and bumpy after a long soak?
Wrinkling is a perfectly healthy sign that the pea seed has successfully absorbed water and is rapidly expanding its internal root systems.
5. Is it necessary to soak microgreen seeds in complete darkness?
No, seeds do not need darkness while soaking in the jar, so leaving them out on your regular kitchen counter works perfectly fine.
6. How can I tell if my soaking seeds have run out of oxygen?
If your soaking jar begins to produce tiny foul-smelling gas bubbles or smells like rotten eggs, your seeds have gone anaerobic and are likely dead.